Please Note: This article is written for users of the following Microsoft Word versions: 2007, 2010, 2013, 2016, 2019, Word in Microsoft 365, and 2021. If you are using an earlier version (Word 2003 or earlier), this tip may not work for you. For a version of this tip written specifically for earlier versions of Word, click here: Quickly Changing Document Windows.
Written by Allen Wyatt (last updated April 16, 2024)
This tip applies to Word 2007, 2010, 2013, 2016, 2019, Word in Microsoft 365, and 2021
If you routinely use several open documents to do your work, you already know that you can change between document windows by using the Switch Windows tool on the View tab of the ribbon. You may not know, however, that there is a shortcut for changing windows. You can cycle through your documents by pressing either Ctrl+F6 or Shift+Ctrl+F6. The difference is that Ctrl+F6 cycles through the list of windows in a forwards direction, while Shift+Ctrl+F6 cycles through the list of windows in backwards direction.
If you would rather not take your hands off the mouse, you can add a handy tool to the Quick Access Toolbar (QAT):
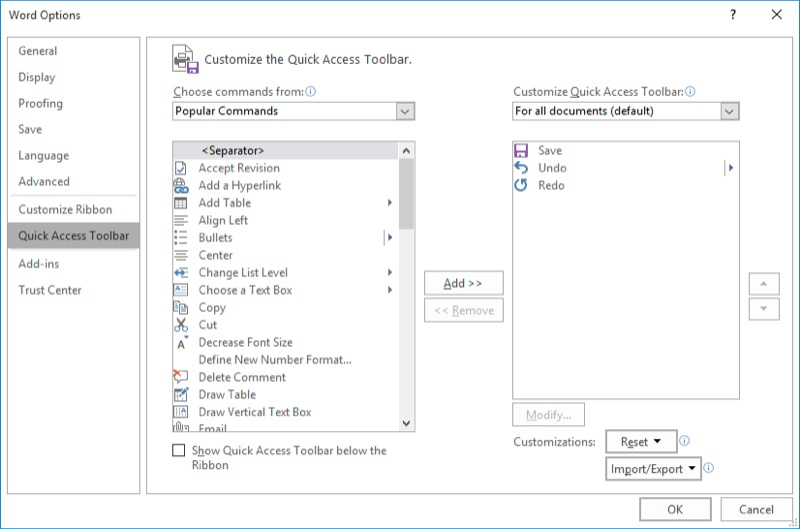
Figure 1. The Word Options dialog box.
Note that the new tool is now available on your QAT. Click on it a few times (if you have multiple windows open) and you'll be able to get a feel for how the tool cycles through the windows.
If you prefer, you can create a macro that cycles through the windows. This macro can then be assigned to the Quick Access Toolbar. The following macro will cycle forwards through the windows:
Sub ChangeWin()
    On Error GoTo ChangeWinErr
    Set bb = ActiveWindow.Next
    If Windows.Count > 1 Then
        bb.Activate
        Exit Sub
    End If
    ChangeWinErr:
        Windows(1).Activate
End Sub
Note:
WordTips is your source for cost-effective Microsoft Word training. (Microsoft Word is the most popular word processing software in the world.) This tip (9891) applies to Microsoft Word 2007, 2010, 2013, 2016, 2019, Word in Microsoft 365, and 2021. You can find a version of this tip for the older menu interface of Word here: Quickly Changing Document Windows.

Create Custom Apps with VBA! Discover how to extend the capabilities of Office 2013 (Word, Excel, PowerPoint, Outlook, and Access) with VBA programming, using it for writing macros, automating Office applications, and creating custom applications. Check out Mastering VBA for Office 2013 today!
All those little ScreenTips bug you when moving your mouse pointer over different parts of Word's interface? You can turn ...
Discover MoreTwo of the most common character coding schemes used in computers go by the acronyms ASCII and ANSI. This tip explains a ...
Discover MoreIf you like to see your open documents in multiple icons on the Taskbar, you may wonder how to make that happen. This is ...
Discover MoreFREE SERVICE: Get tips like this every week in WordTips, a free productivity newsletter. Enter your address and click "Subscribe."
2017-08-19 13:56:40
Ted Duke
Not quite so easy to find in current Windows 10 upgrade. Three steps: 1. Choose commands from "All Commands." 2. Scroll down and click on "Switch Windows. 3. Click on the Add button. There will be no change in the "For all Documents box, but the command will be in the Quick Access toolbar. (I had a .jpg image to add, but the site wouldn't accept any.)
Got a version of Word that uses the ribbon interface (Word 2007 or later)? This site is for you! If you use an earlier version of Word, visit our WordTips site focusing on the menu interface.
Visit the WordTips channel on YouTube

FREE SERVICE: Get tips like this every week in WordTips, a free productivity newsletter. Enter your address and click "Subscribe."
Copyright © 2024 Sharon Parq Associates, Inc.
 Please Note:
This article is written for users of the following Microsoft Word versions: 2007, 2010, 2013, 2016, 2019, Word in Microsoft 365, and 2021. If you are using an earlier version (Word 2003 or earlier), this tip may not work for you. For a version of this tip written specifically for earlier versions of Word, click here:
Please Note:
This article is written for users of the following Microsoft Word versions: 2007, 2010, 2013, 2016, 2019, Word in Microsoft 365, and 2021. If you are using an earlier version (Word 2003 or earlier), this tip may not work for you. For a version of this tip written specifically for earlier versions of Word, click here:
Comments